

Cache management
Overview
In HDFS, you can configure the centralized cache management setting, which enables deliberate storage of a specific directory in cache memory. This feature ensures fast access to data and speeds up tasks related to the cached data.
Without this feature, there would be no control over what data is cached. Low-priority workloads could wipe out cached high-priority jobs; and applications that make task placement decisions (such as MapReduce or Impala) would not be able to take advantage of the cached data.
Centralized cache exposes cluster’s cache state to task schedulers and makes it possible for clients to pin their data in cluster memory. Additionally, applications could potentially do efficient zero-copy reads of cached data, and could skip verifying checksums of already verified cached data.
Having the centrilized cache configured, benifits the performance of several Hadoop services, including HBase, Impala, and Hive.
Cache directives and cache pools
There are two main concepts used in cache management: cache directives and cache pools.
A cache directive is a path that a user or an application requests to be stored in cache. This can be either a file or a directory.
Caching is non-recursive. Which means that if a file is specified, all of it’s blocks will be stored in cache. But if a directory is specified, only the files at the first level of that directory will be cached.
If a directive contains a symlink, the symlink target will not be cached.
When creating a cache directive, you will need to specify two parameters:
-
Cache replication factor — the number of block replicas to cache. If multiple cache directives refer to the same file, the maximum cache replication factor is applied.
-
Expiration time (time-to-live, TTL) — a relative expiration time in the future. After a cache directive expires, it is no longer considered by the NameNode when making caching decisions.
After receiving a directive, the NameNode will be checking periodically if files in the directive directory have been changed. If so, the NameNode will instruct the DataNodes to cache the new blocks.
Cache pool is an administrative and resource management tool. When a cache directive is created, it must belong to a specific cache pool.
For each cache pool you can configure the following:
-
UNIX-like permissions — a code that indicates which users and groups have access to the pool. Write permissions allow users to add and remove cache directives, read permissions allow to see the list of directives in a pool and additional metadata.
-
Maximum size — a size limit in bytes for all cache directives in a pool. Typically, the sum of all pool limits will approximately equal the amount of aggregate memory reserved for HDFS caching on the cluster.
-
Maximum TTL — the maximum time-to-live for cache directives in a pool.
Configuration
To enable cache management, you need to set a value other than zero for the dfs.datanode.max.locked.memory parameter in hdfs-site.xml.
This parameter describes how much of the DataNode’s memory can be reserved for caching.
When setting this parameter, take into the account:
-
In Unix-like systems, the locked-in-memory size ulimit (
ulimit -l) of the DataNode user needs to be increased to match this parameter (see possible errors section below). -
The DataNode, application JVM heaps, and the operating system page cache also require space.
-
The
dfs.datanode.max.locked.memorysetting is shared with the Lazy Persist Writes feature.
By default, centralized cache is not available in ADH, but you can configure it using the custom configuration parameter in ADCM.
Before enabling the cache management, make sure you have the libhadoop.so native library available for the DataNodes. For more information on how to install the libhadoop.so library, see the Native Libraries Guide.
To turn on the centralized cache via ADCM:
-
On the Clusters page, select the desired cluster.
-
Navigate to Services and click at HDFS.
-
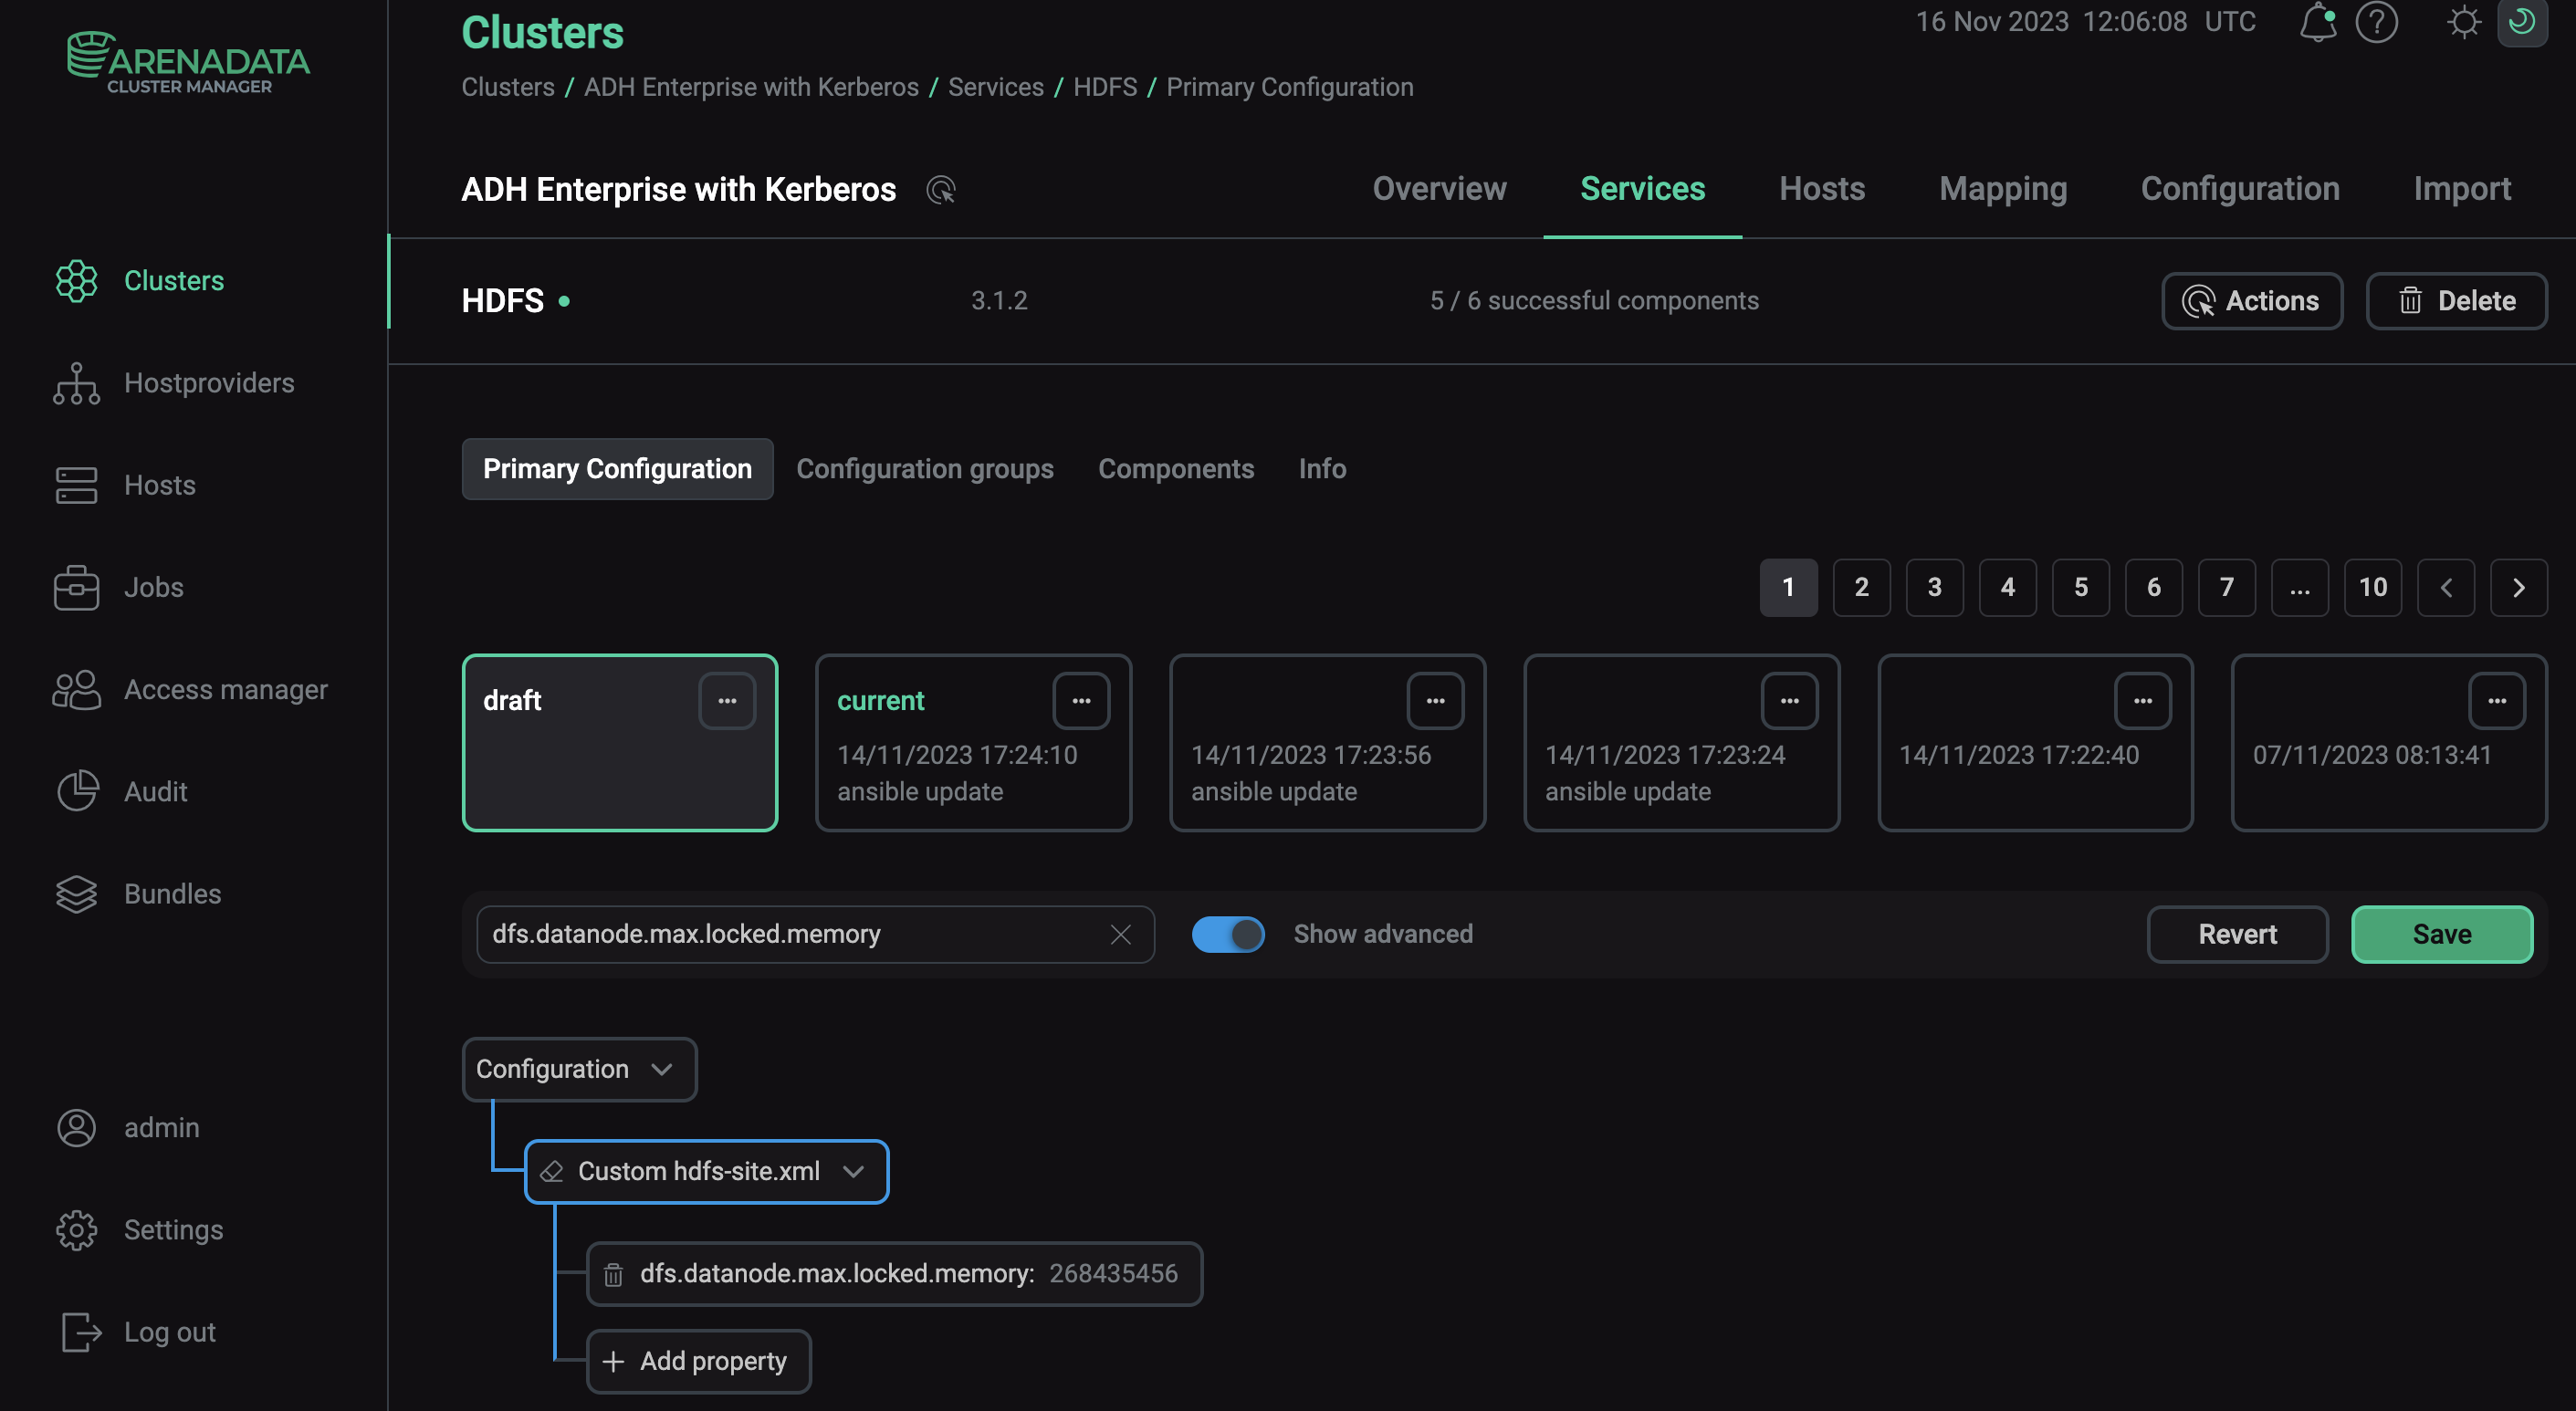
Toggle the Show advanced option and find Custom hdfs-site.xml.
-
Open the parameter drop-down list and select Add property.
-
Enter the parameter name
dfs.datanode.max.locked.memoryand the desired value in bytes. -
Click Apply and confirm changes to HDFS configuration by clicking Save.
-
In the Actions drop-down menu, select Restart, make sure the Apply configs from ADCM option is set to true and click Run.
You can configure cache settings by adding other parameters the same way. See optional cache parameters in the table below.
| Parameter | Description | Default value |
|---|---|---|
dfs.namenode.path.based.cache.refresh.interval.ms |
The parameter describes how often the NameNode checks if there are any blocks that should be cached, and on what DataNodes. Specified milliseconds |
30000 |
dfs.datanode.fsdatasetcache.max.threads.per.volume |
The maximum number of threads to use for caching new data on the DataNode. These threads consume computational power, which can affect normal DataNode operations |
4 |
dfs.cachereport.intervalMsec |
The parameter describes how often a DataNode sends cache reports to the NameNode. Specified milliseconds |
10000 |
dfs.namenode.path.based.cache.block.map.allocation.percent |
The percentage of the Java heap which will be reserved for the cached blocks map. Smaller maps may be accessed more slowly if the number of cached blocks is large; larger maps will consume more memory. Specified as a decimal |
0.25 |
Data flow


In HDFS, centralized cashe works similarly to storing regular data blocks: cache is managed by the NameNode and stored on DataNodes.
When a client creates a cache directive, the active NameNode checks with the DataNodes that have the desired blocks, and instructs them to cache these blocks.
At the same time, the NameNode makes an entry about the new directive in the edit log. This allows the NameNode to re-cache data on restart.
DataNodes pin the requested blocks into memory and send cache reports to all existing NameNodes. The NameNode updates its map of cached blocks and sends instructions to DataNodes on which replicas to cache and uncache.
Commands
An administrator can manage cache directives and pools using the cacheadmin command.
To create a new directive in a new cache pool:
-
Add a new cache pool:
$ hdfs cacheadmin -addPool <name> -owner <owner> -group <group> -mode <mode> -limit <limit> -maxTtl <maxTtl>Where:
-
<name>— the name of the new pool. -
<owner>— the username of the new pool’s owner. The default owner is the current user. -
<group>— the pool’s user group. The default group is the primary group of the current user. -
<mode>— UNIX-style permissions for the pool. Permissions are specified in octal. By default, this is set to 0755. -
<limit>— the maximum pool size in bytes. By default, the pool has no limit. -
<maxTtl>— the maximum allowed time-to-live for directives in the pool. This can be specified in seconds, minutes, hours, and days, e.g. 120s, 30m, 4h, 2d. If the value isnever, there is no limit. By default, no maximum is set.
-
-
Add a new cache directive:
$ hdfs cacheadmin -addDirective -path <path> -pool <pool-name> -force -replication <replication> -ttl <time-to-live>Where:
-
<path>— a path to a directory or a file that must be cached. -
<pool-name>— the pool in which to add the directive. You must have write permission on the cache pool in order to add new directives. -
-force— if this option specified, the cache pool resource limit check will be skipped. -
<replication>— the cache replication factor to use. The default value is 1. -
<time-to-live>— the amount of time the directive is valid. This can be specified in seconds, minutes, hours, and days, e.g. 120s, 30m, 4h, 2d. If the value isnever, the directive never expires. The default value isnever.
-