

Work with templates
Templates in the NiFi Server interface are used when it is necessary to create several typical identical sections in a large flow scheme. Using a template, it is possible to group basic components created with toolbar.
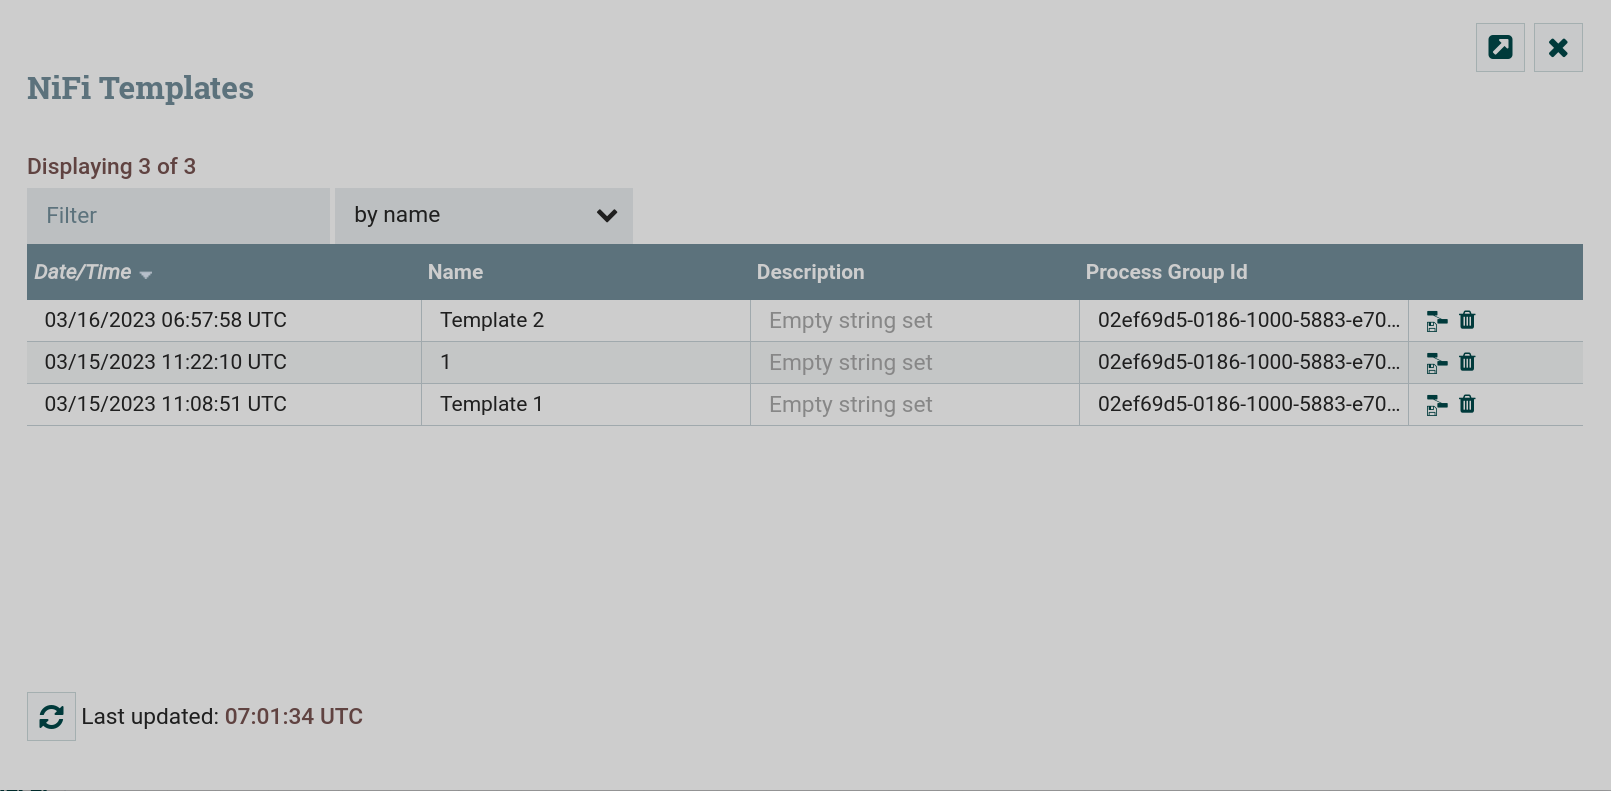
Manage templates
Templates are managed in the Templates window, which opens when you click the menu item of the same name in the global menu of the NiFi Server interface window. This window contains all the templates that can be used in this instance of NiFi.
Possible actions on templates in the Templates window:
-
filter templates by name or description;
-
export a template as an XML file;
-
delete a template.

There are two ways to add a template to the list of templates:
-
create a template in the current instance of NiFi;
-
import a template as an XML file exported in another NiFi instance.
Create a template
The template is created in the following sequence:
-
On the canvas, select the сomponents that should be part of the template. Multiple items can be selected by holding down the
Shiftkey.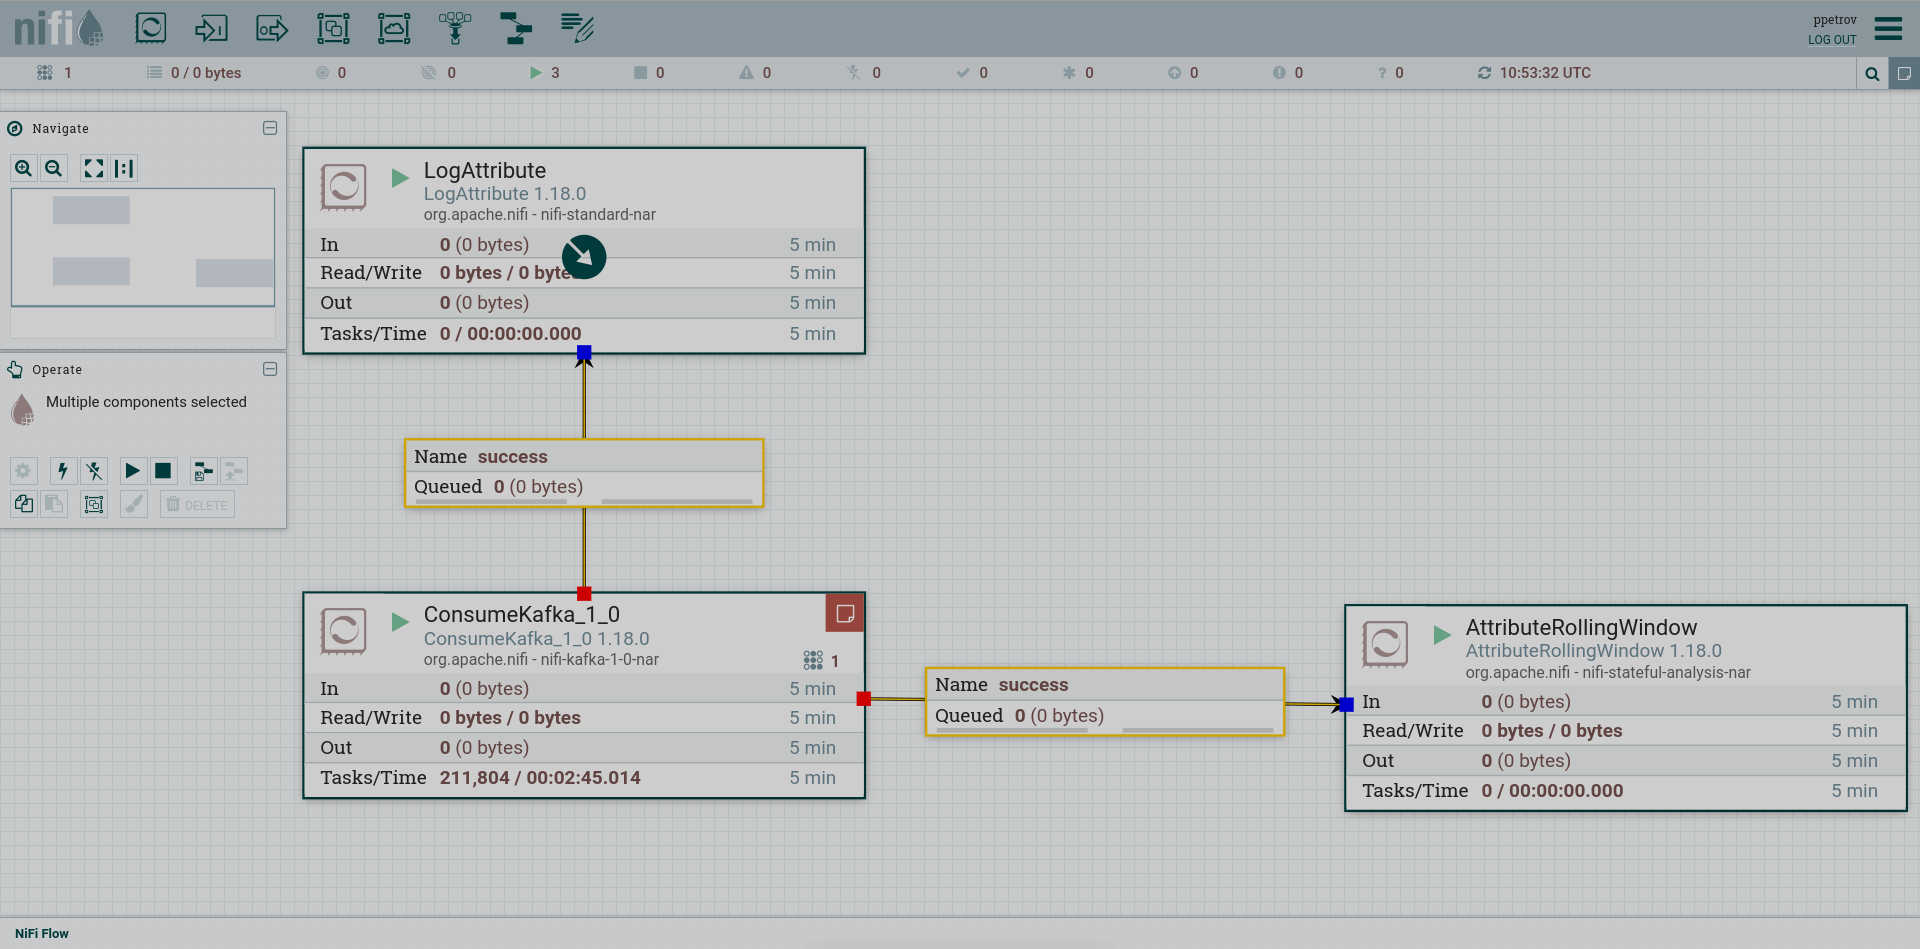 Selected сomponents
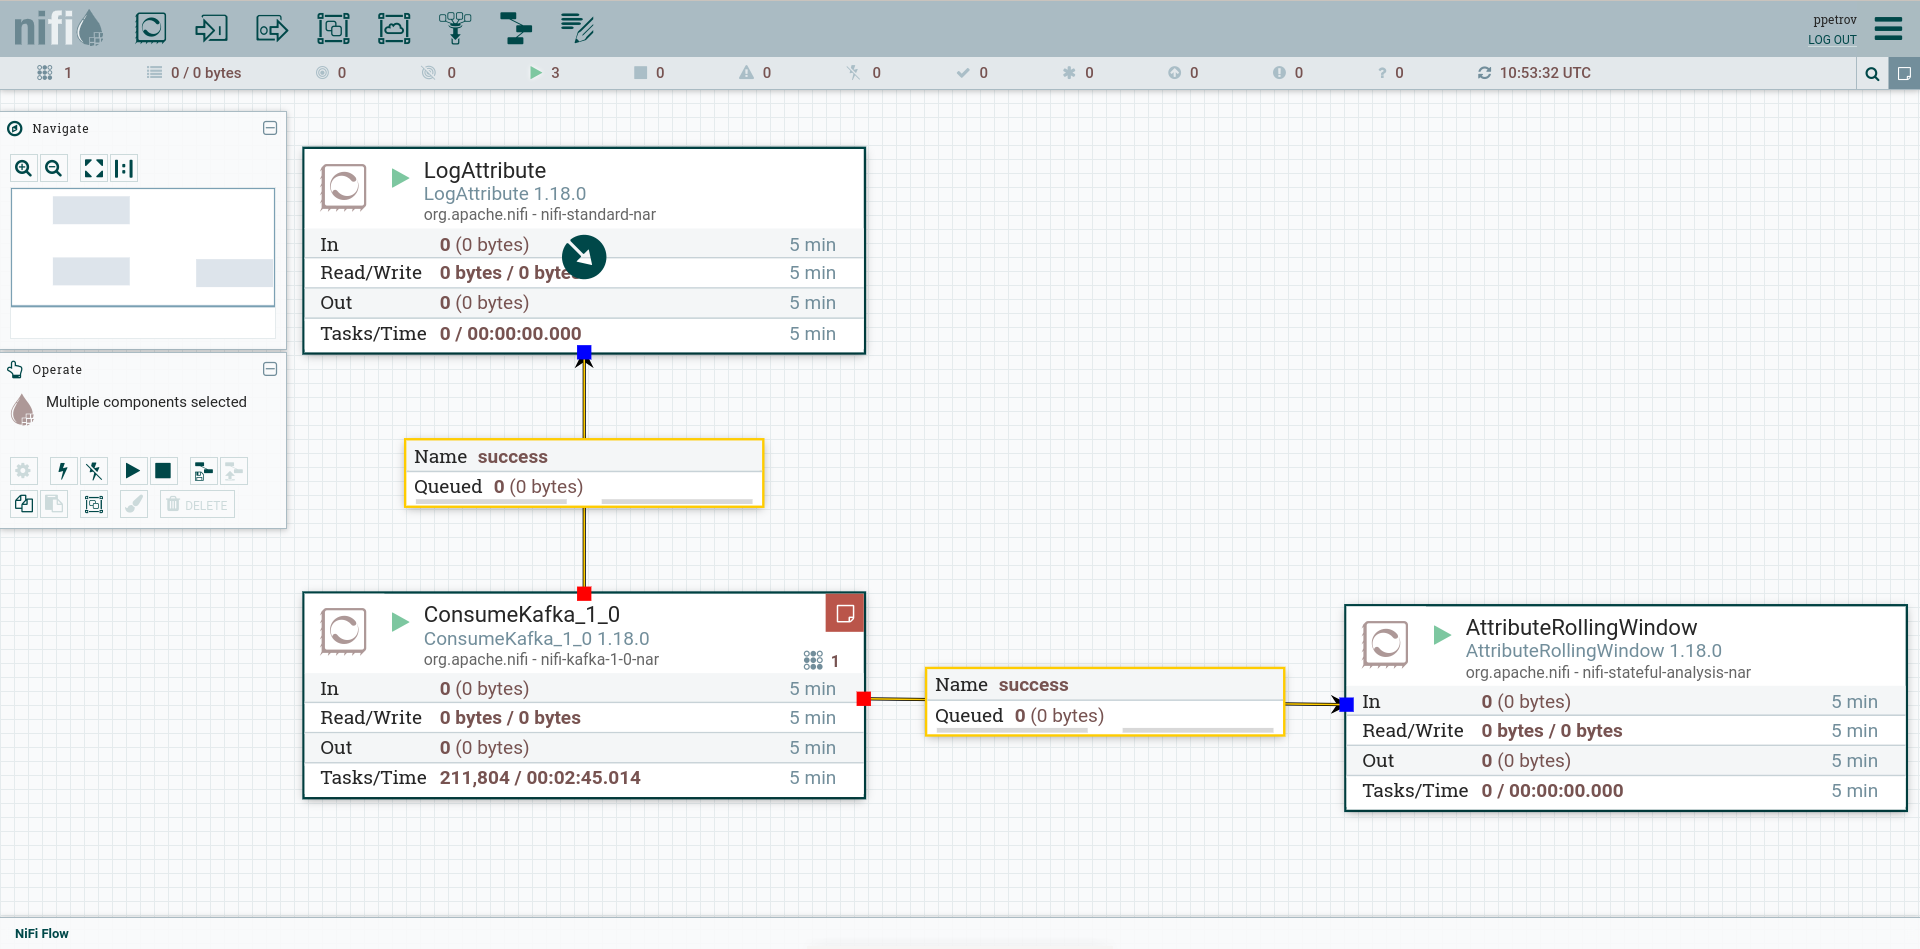 Selected сomponents
 -
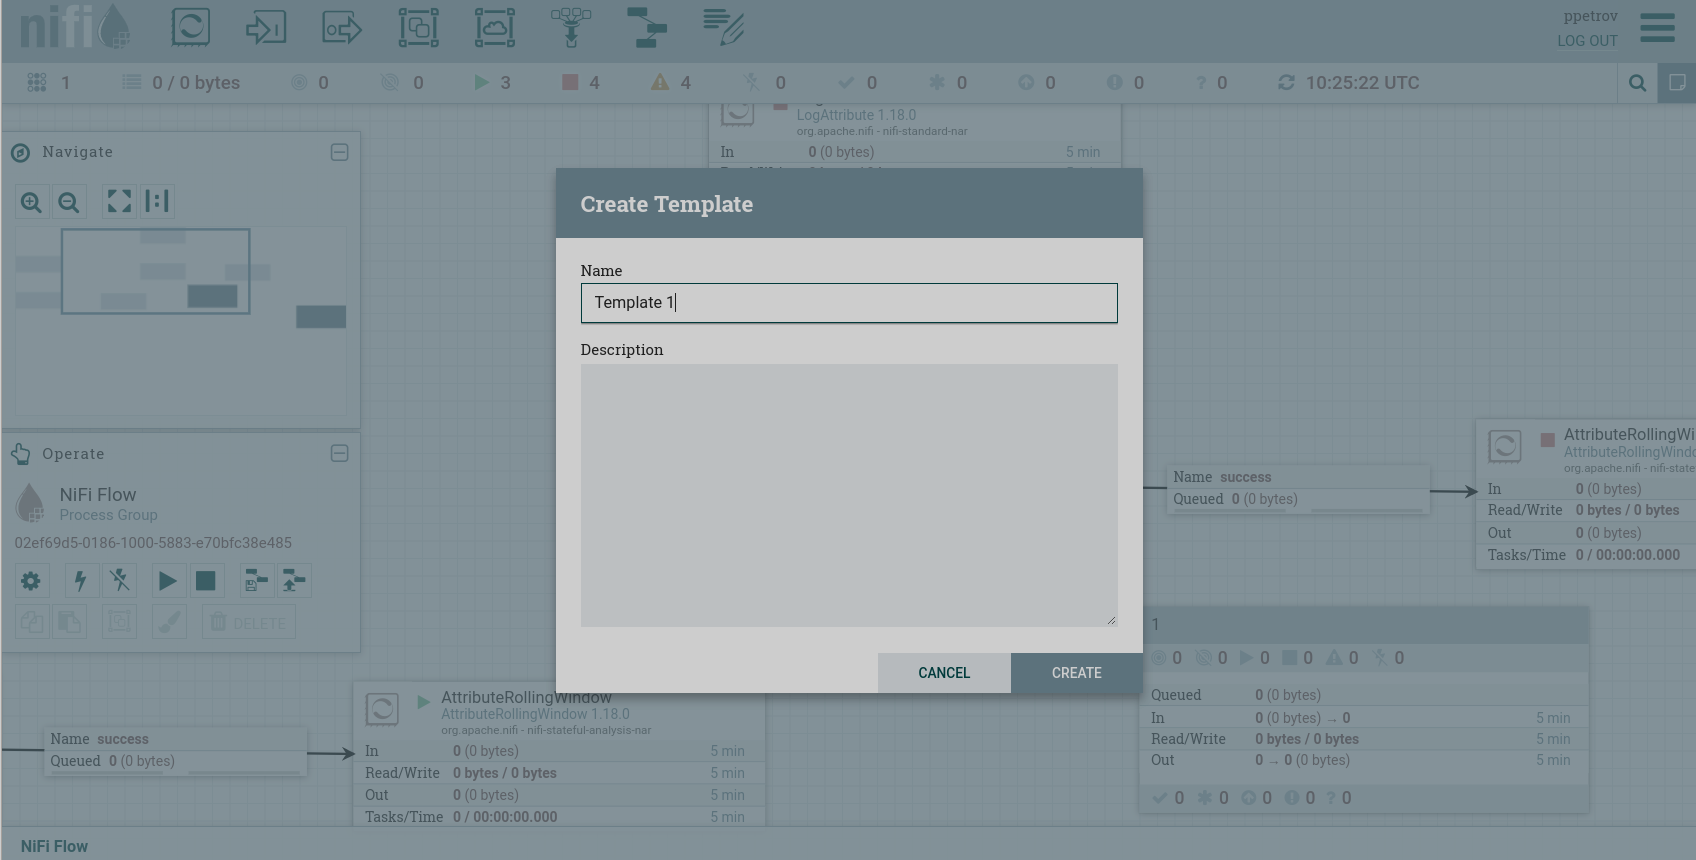
Click the icon
 on the Action Palette or the Create Template item in the context menu called by the right mouse button.
 -
In the window that opens, enter the name of the template and, if necessary, its description.
 Create a template
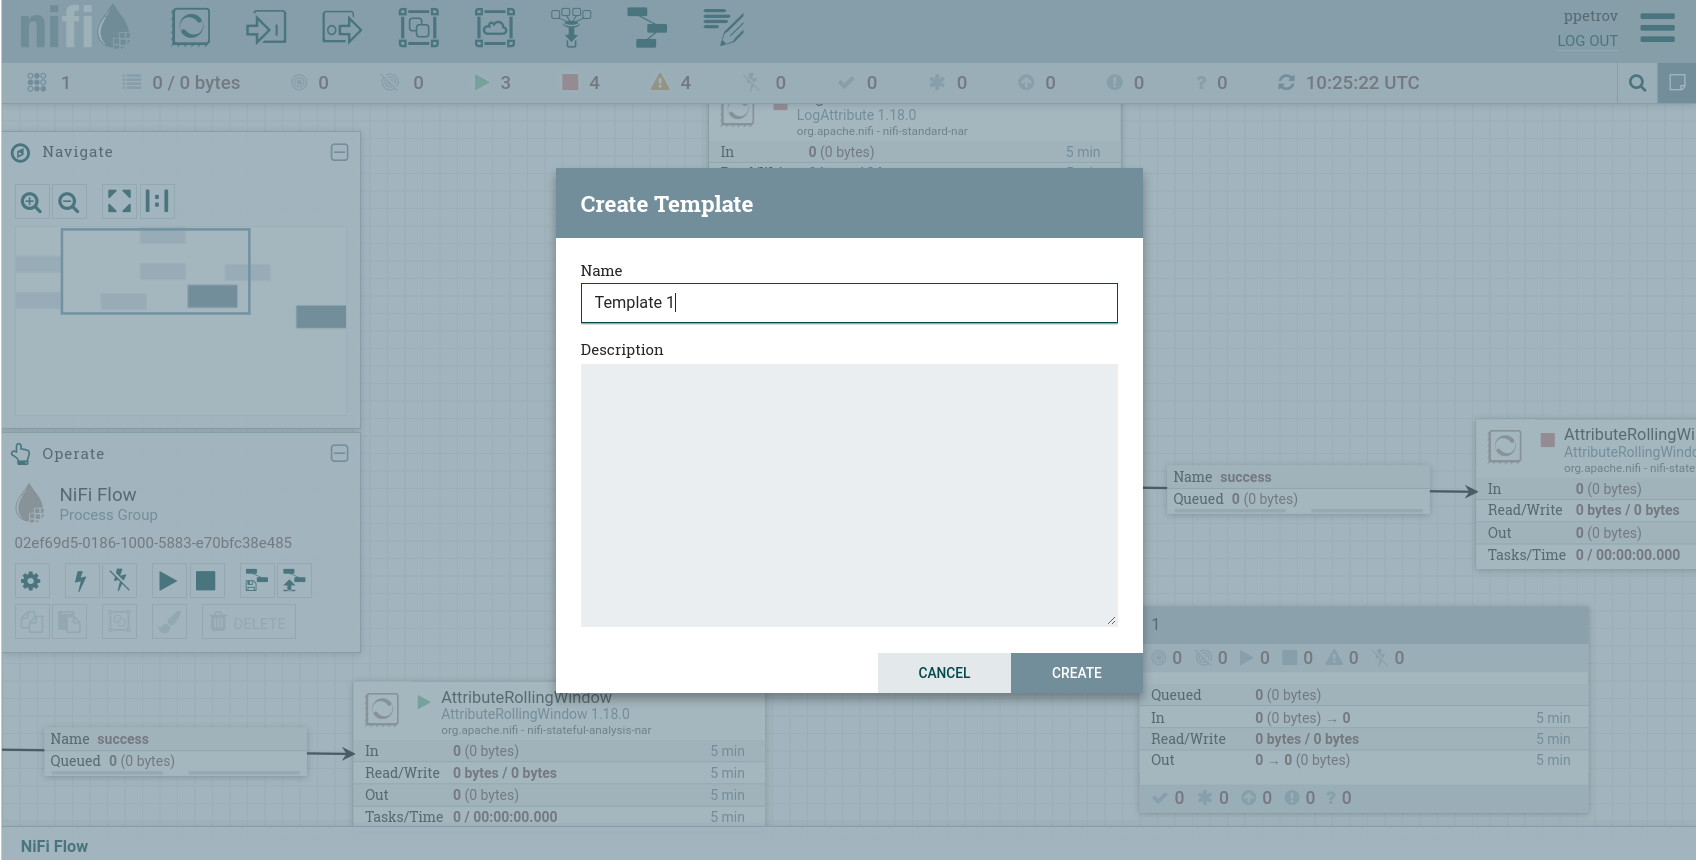 Create a template
 -
Click CREATE and get a message about the successful creation of the template.
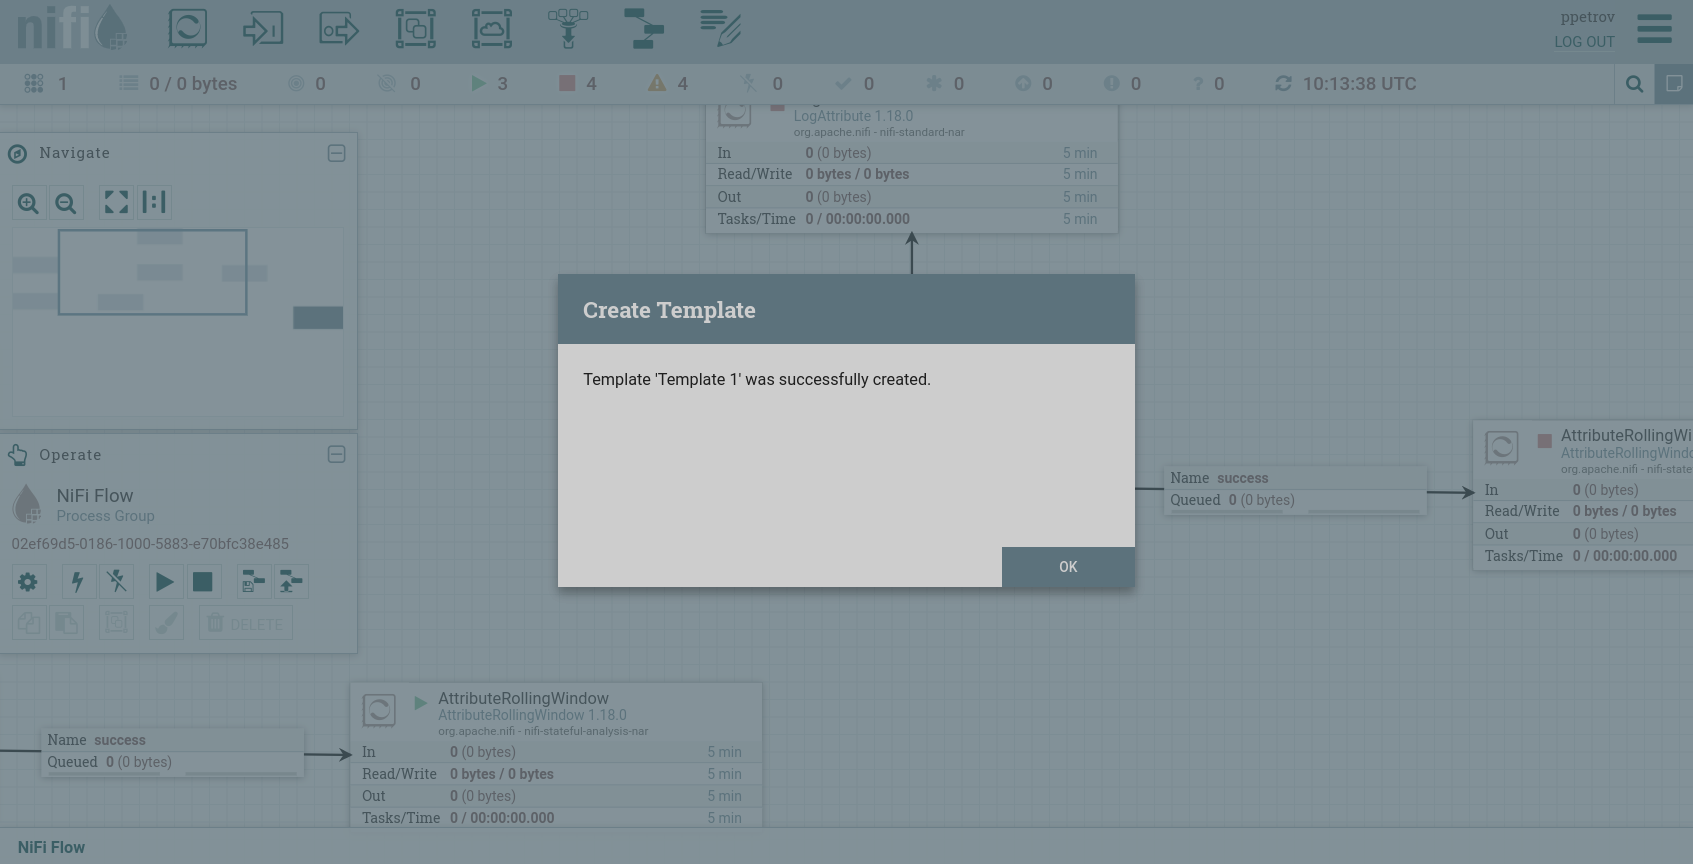 The template is created
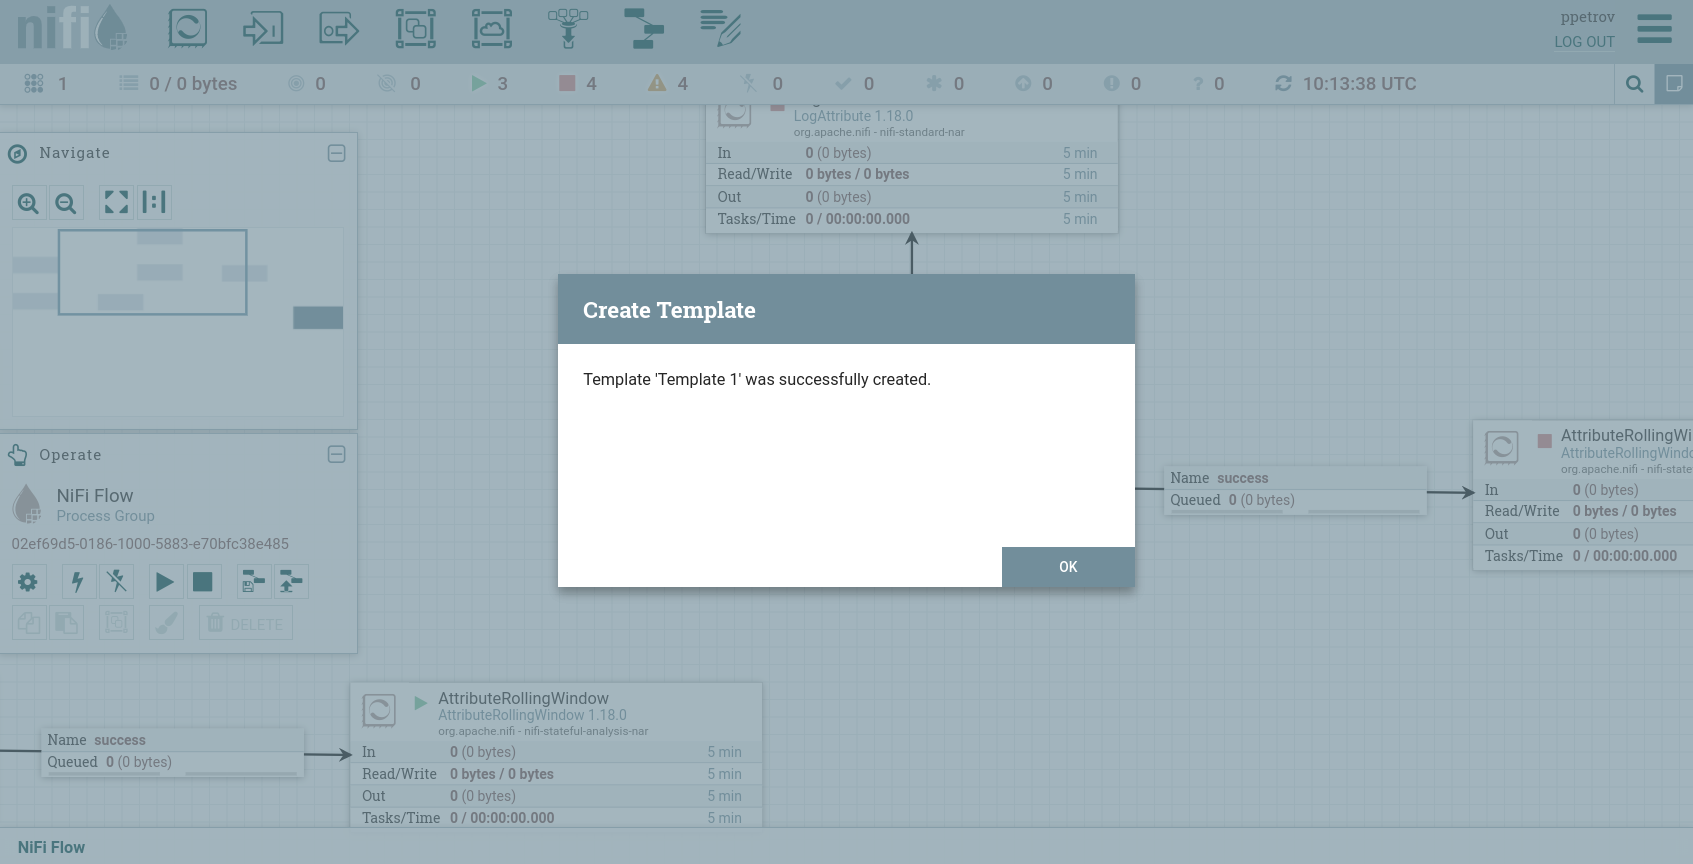 The template is created
After being created, the template appears in the list in the Templates window.
|
NOTE
If you start creating a template by clicking an empty area in the canvas (inside the process group) without selecting сomponents, the template will contain all the сomponents of the current process group (present on this canvas). |
Export the created template as an XML file
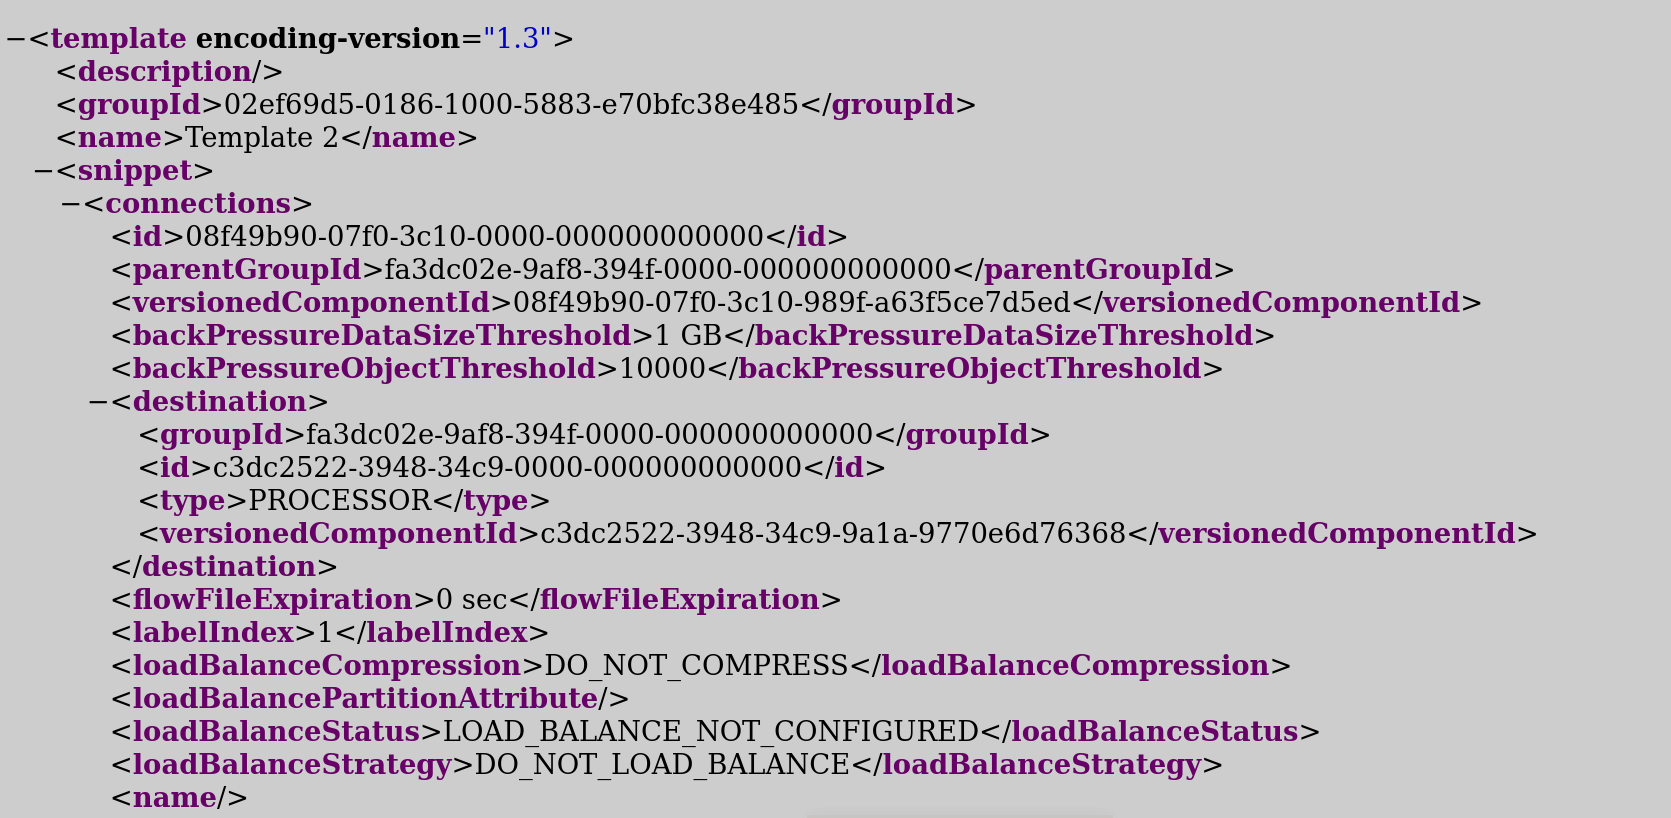
After the template appears in the list of the Templates window, it is possible to save this template as an XML file. To do this, in the line with the selected template, click the icon ![]() . After loading the <template_name>.xml file, you can view its XML representation.
. After loading the <template_name>.xml file, you can view its XML representation.
Import template
A template saved as an XML file can be imported into any NiFi process group where the user has the appropriate permissions.
The template is imported in the following sequence:
-
Click the icon
 on Action Palette or the Upload Template item in the context menu called by the right mouse button.
 -
In the window that opens, click the icon
 .
.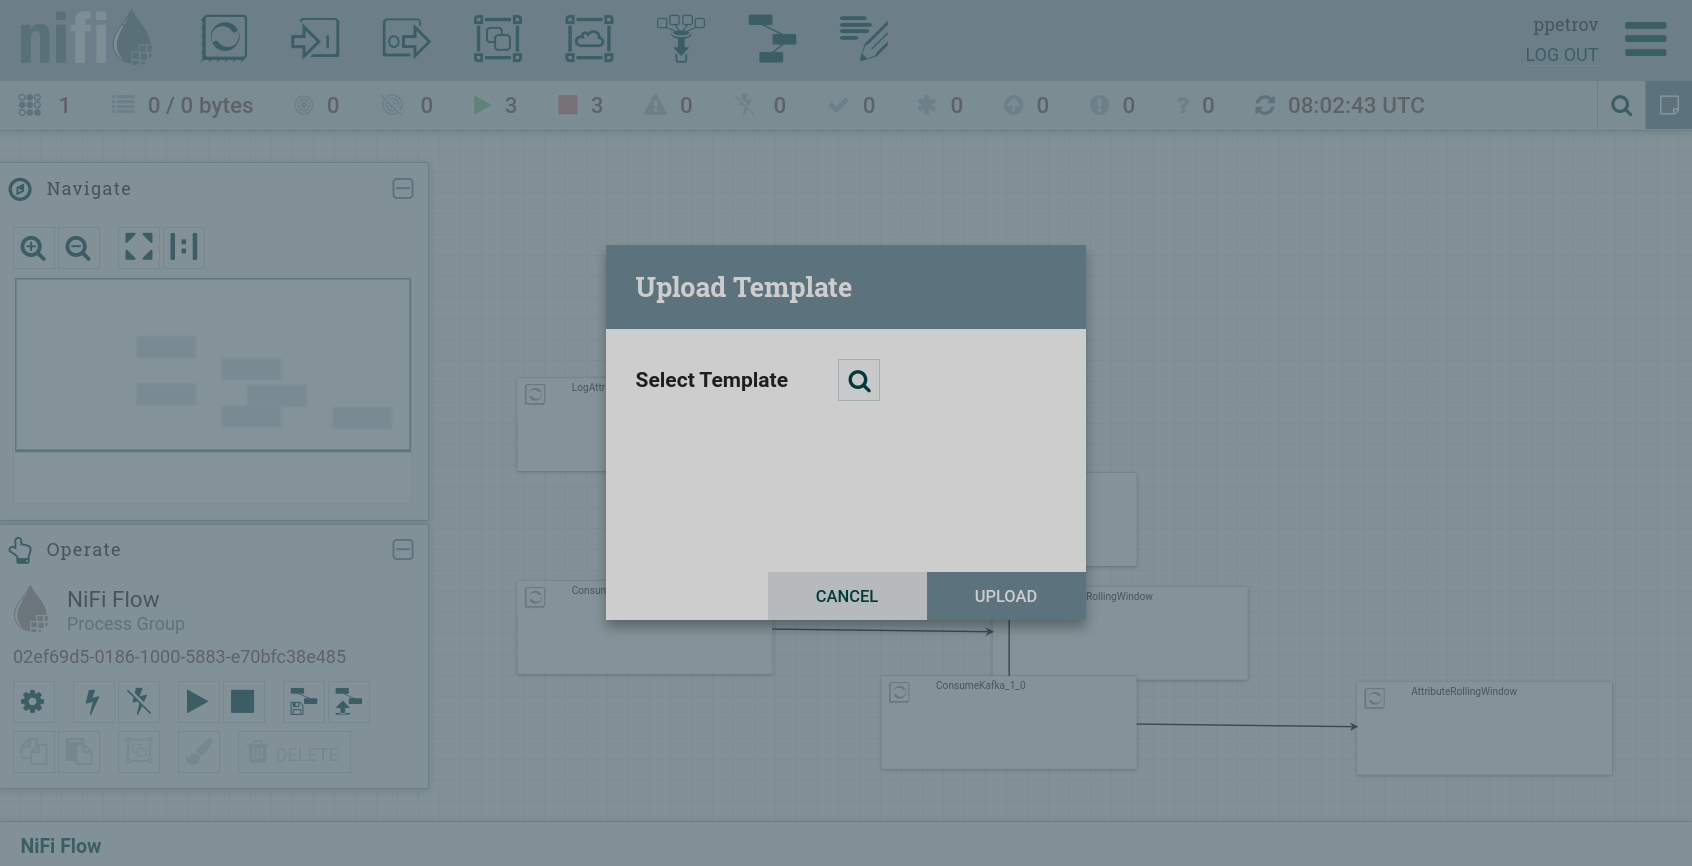 Load a template
 Load a template
 -
Select a template and click Select.
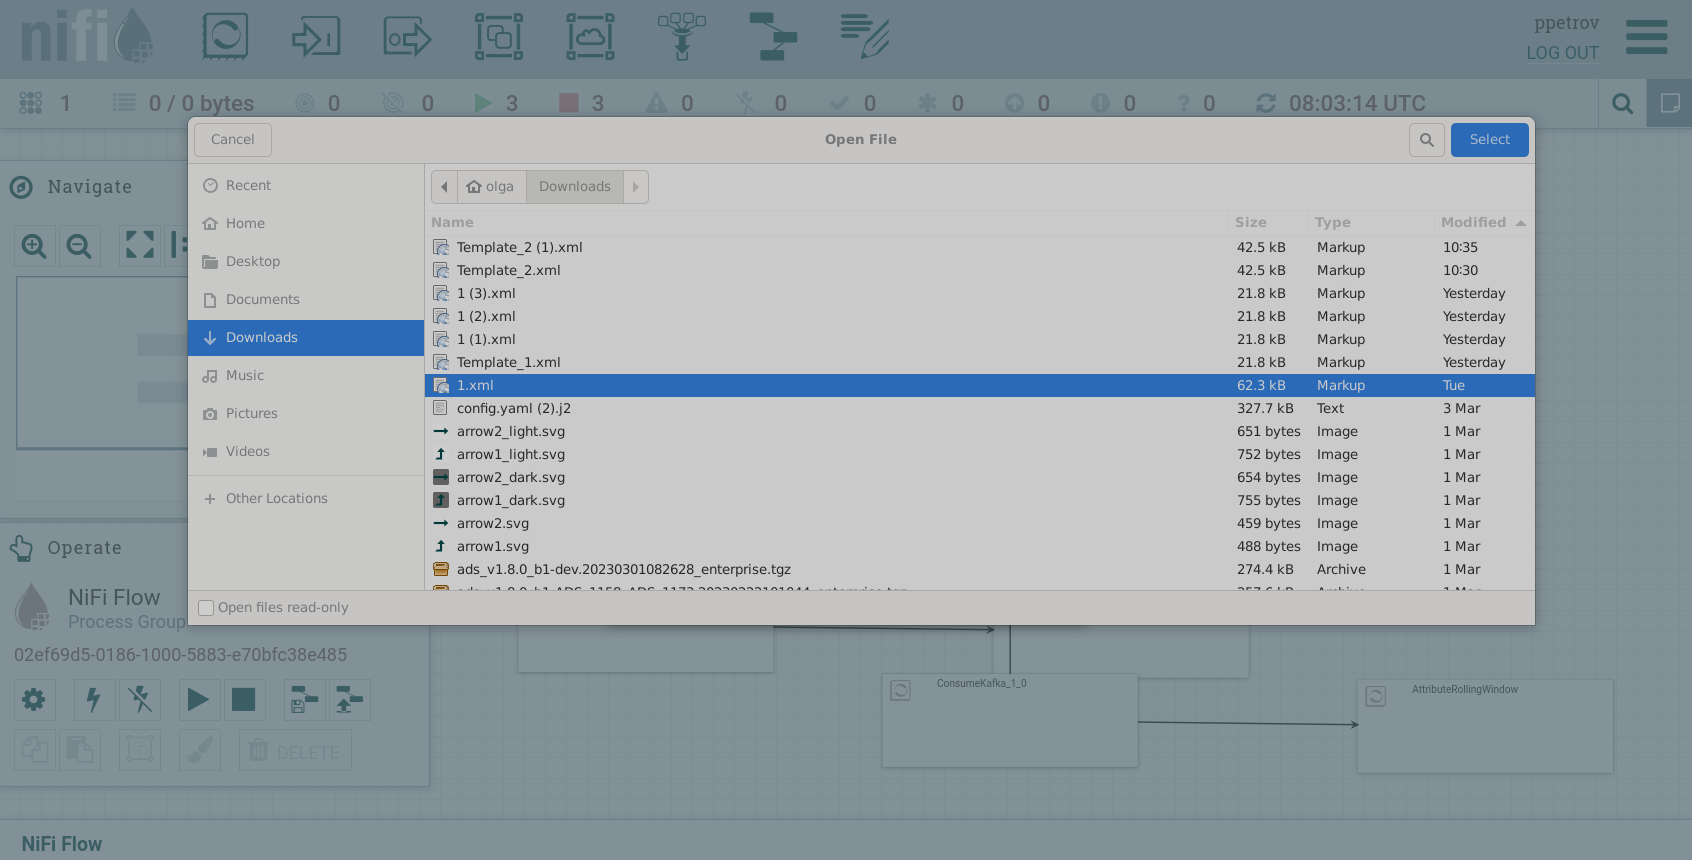 Select a template
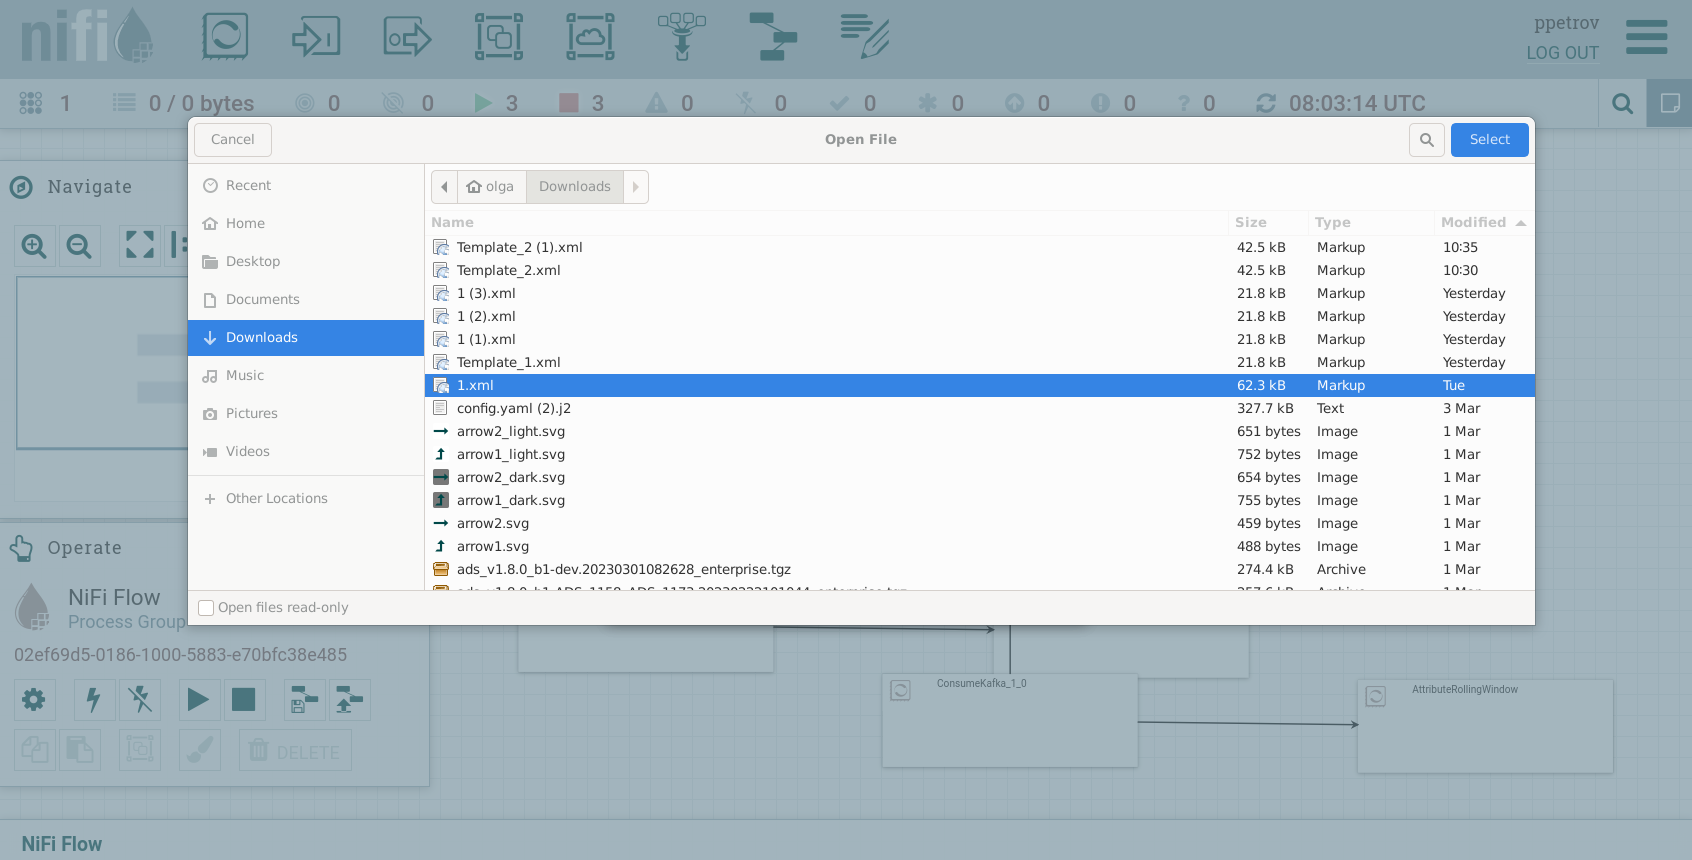 Select a template
 -
Make sure the correct template is selected and click UPLOAD.
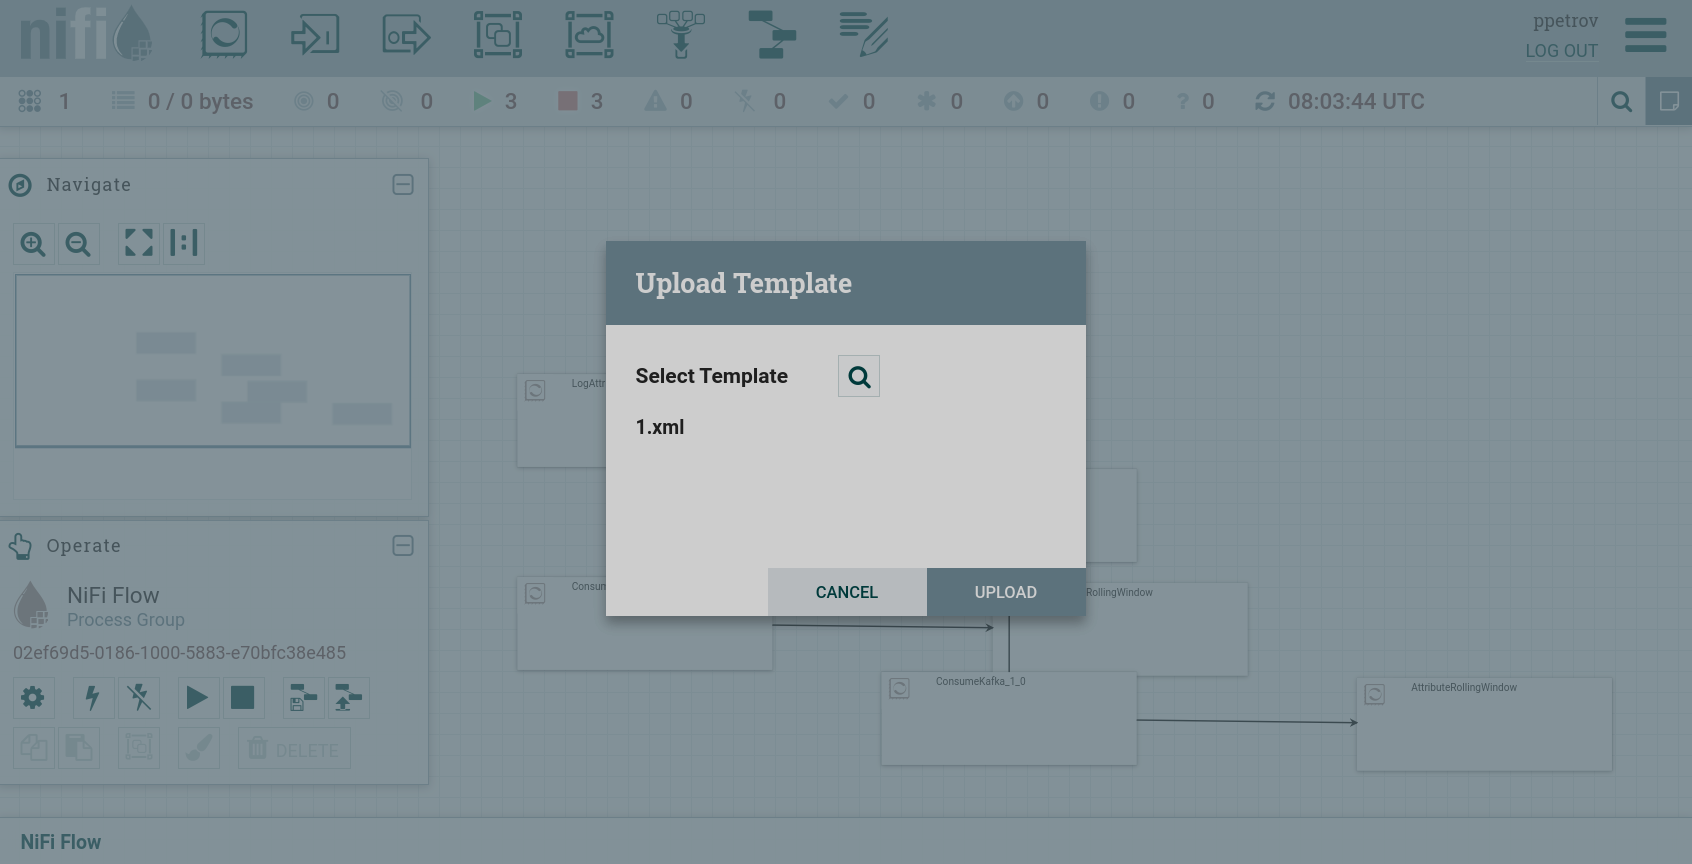 Load the template
 Load the template
 -
Receive a message about the successful loading of the template.
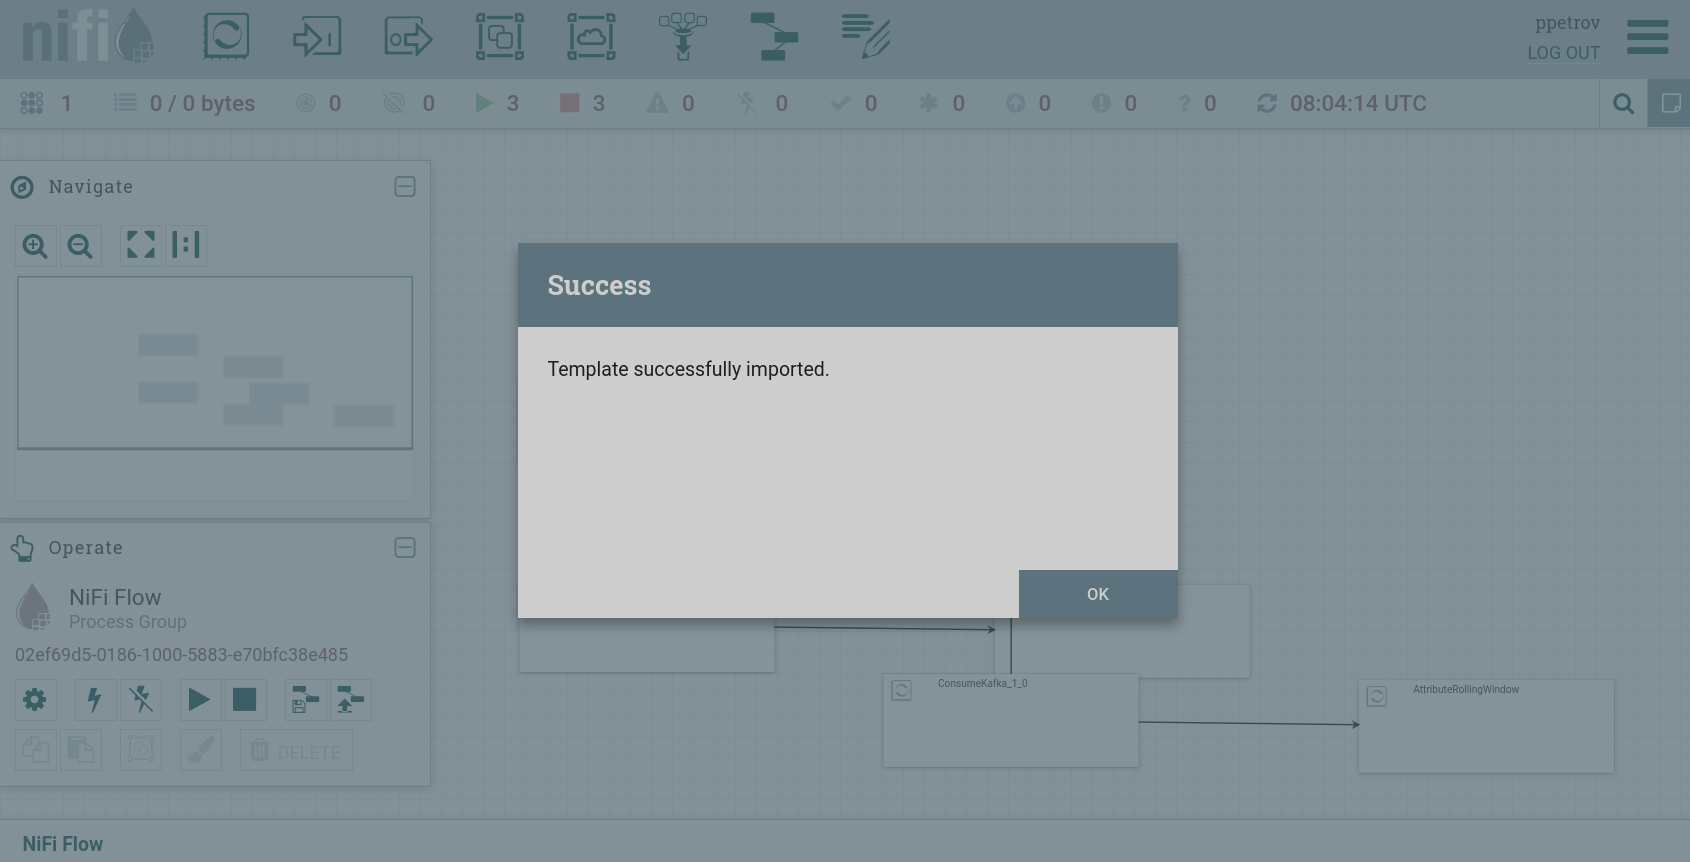 The template is loaded
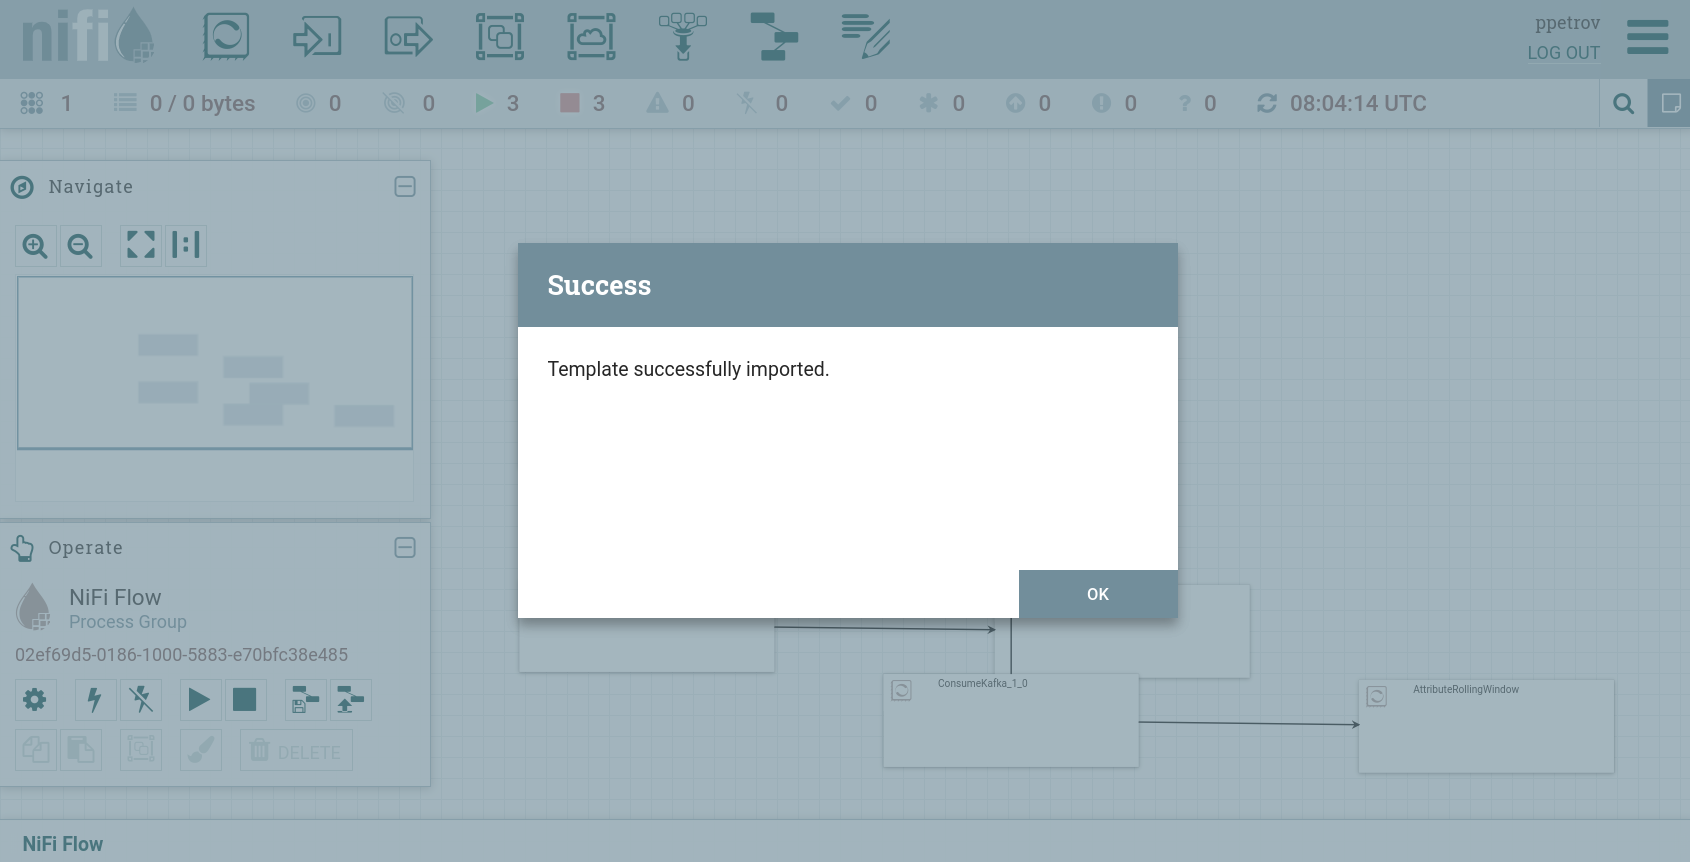 The template is loaded
After import, the template appears in the Templates window list.
Use a template
After being created or imported, the template is ready to be used on the canvas.
Creating a group of сomponents on the canvas using a template is performed in the following sequence:
-
Move icon

 from the toolbar to the canvas.
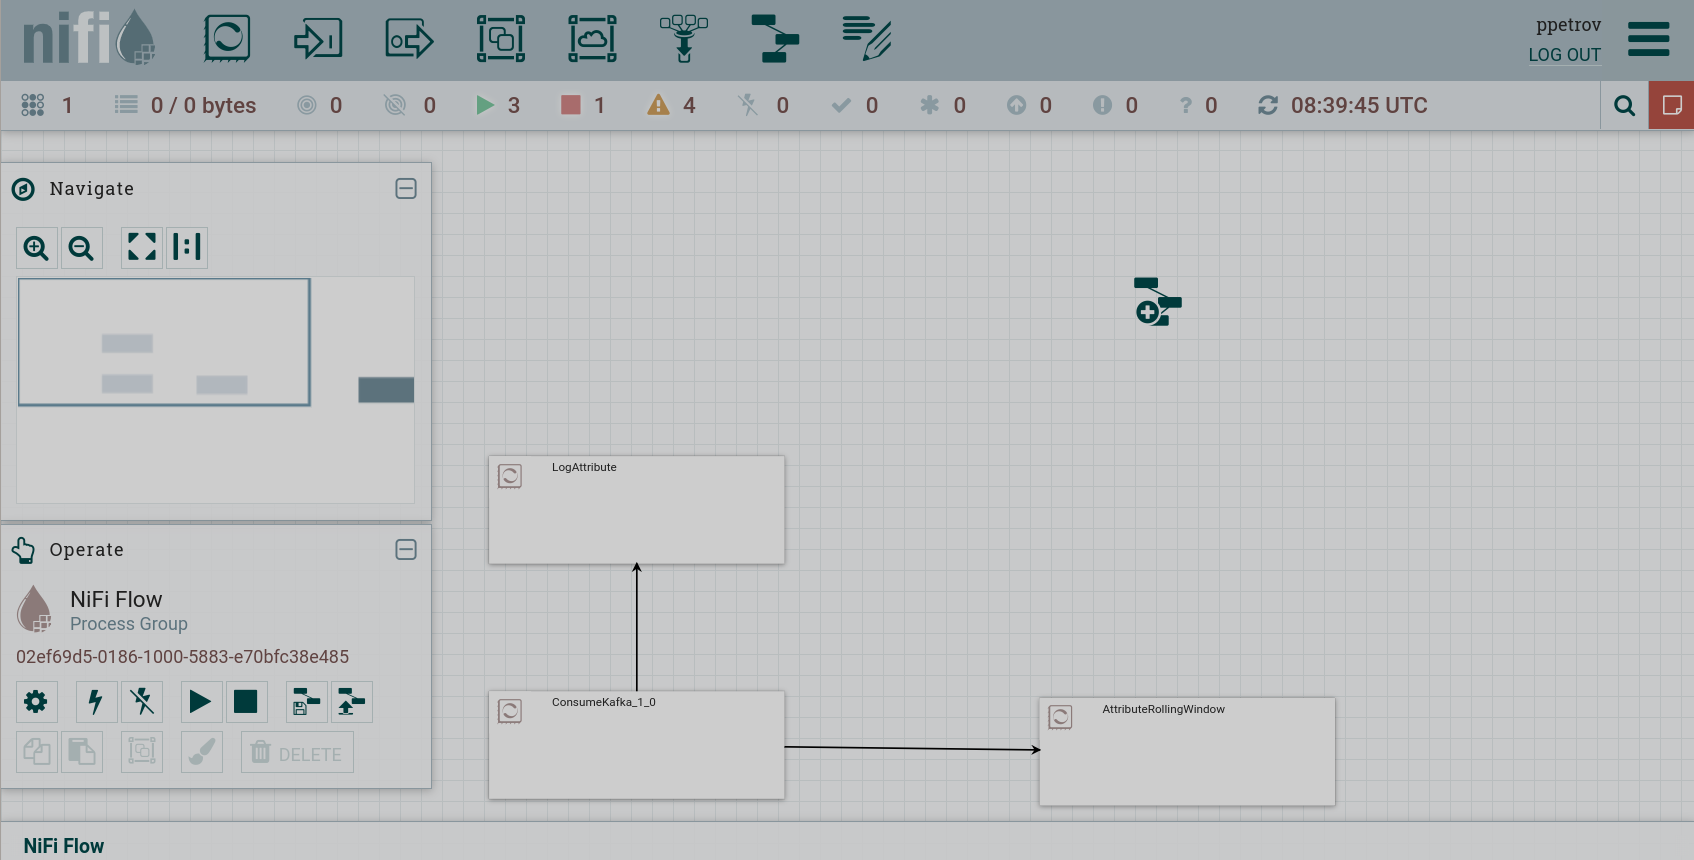 Create a group of сomponents using a template
 Create a group of сomponents using a template
 -
In the window that opens, select a template from the list.
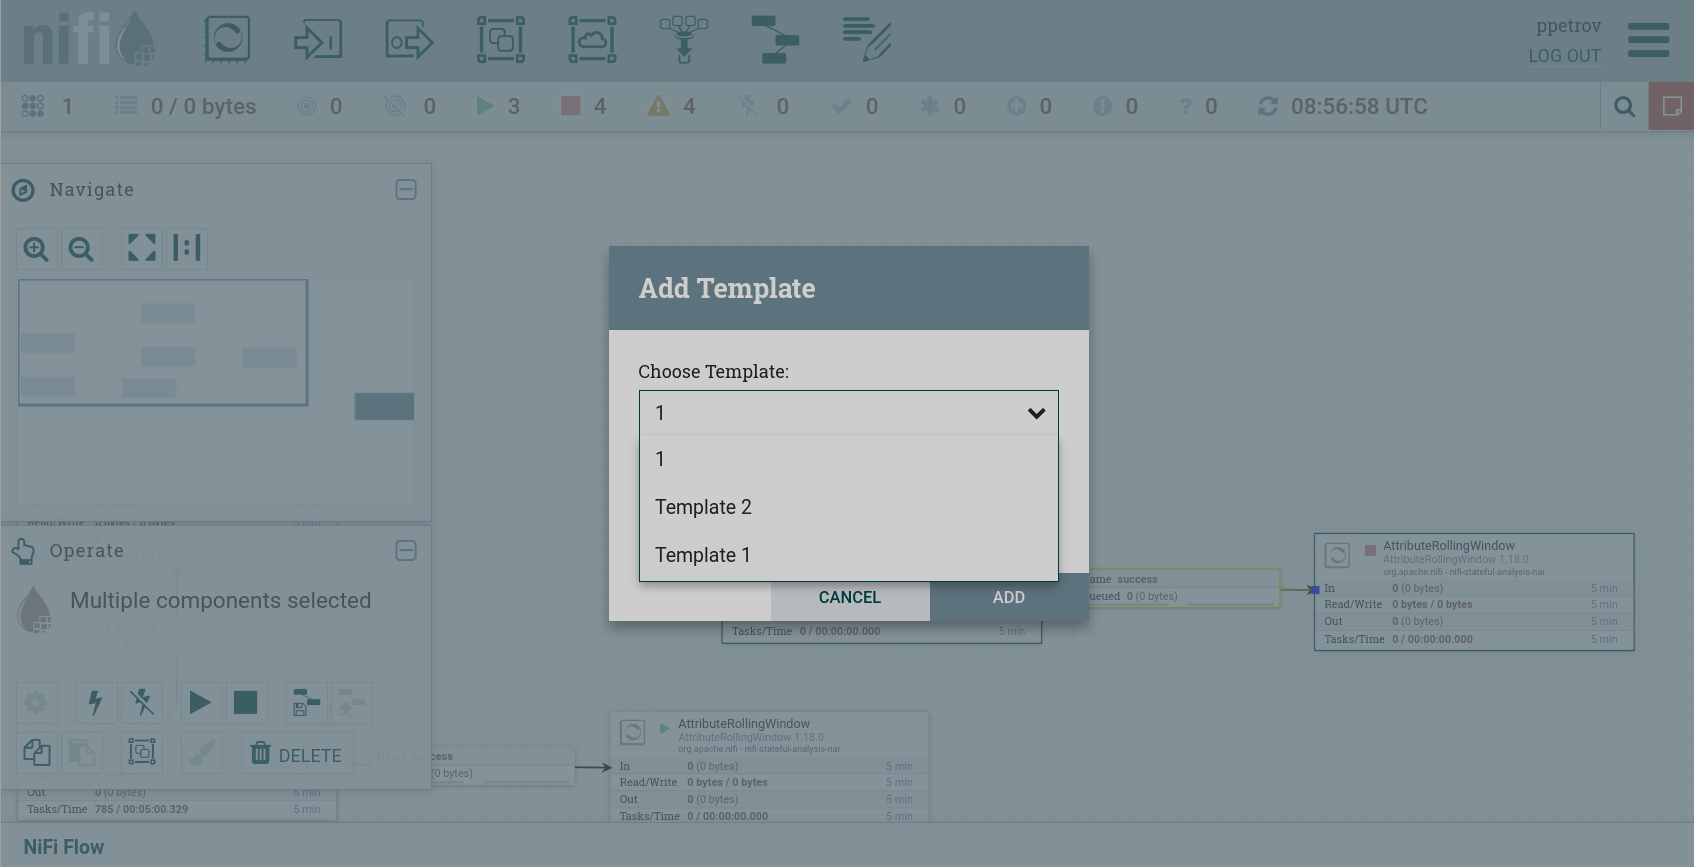 Select a template from the list
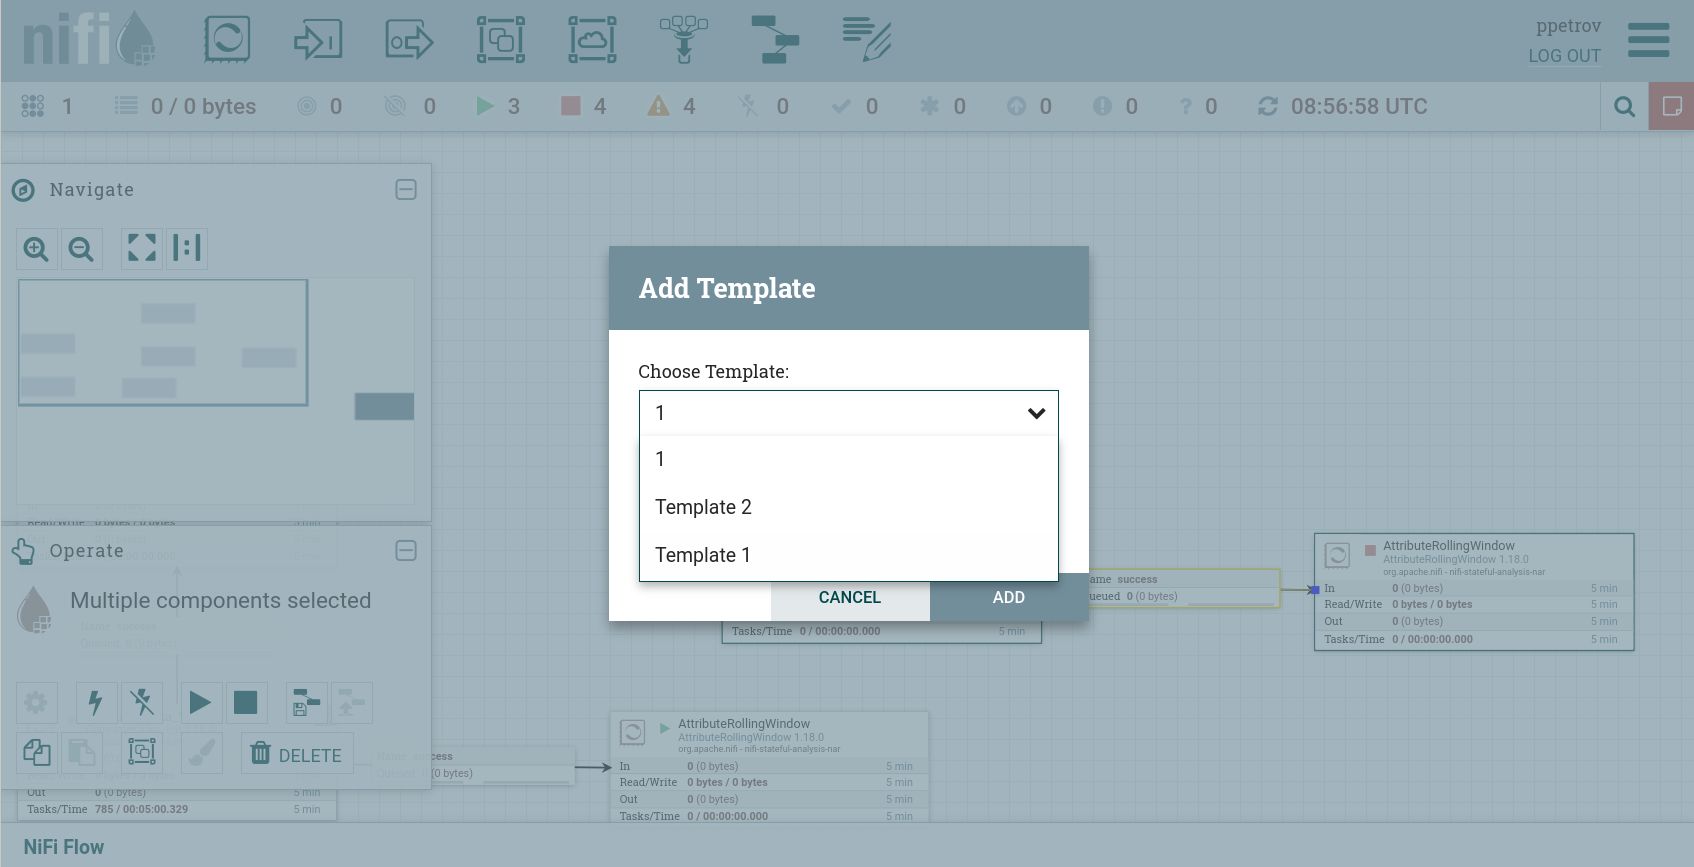 Select a template from the list
 -
Click ADD.
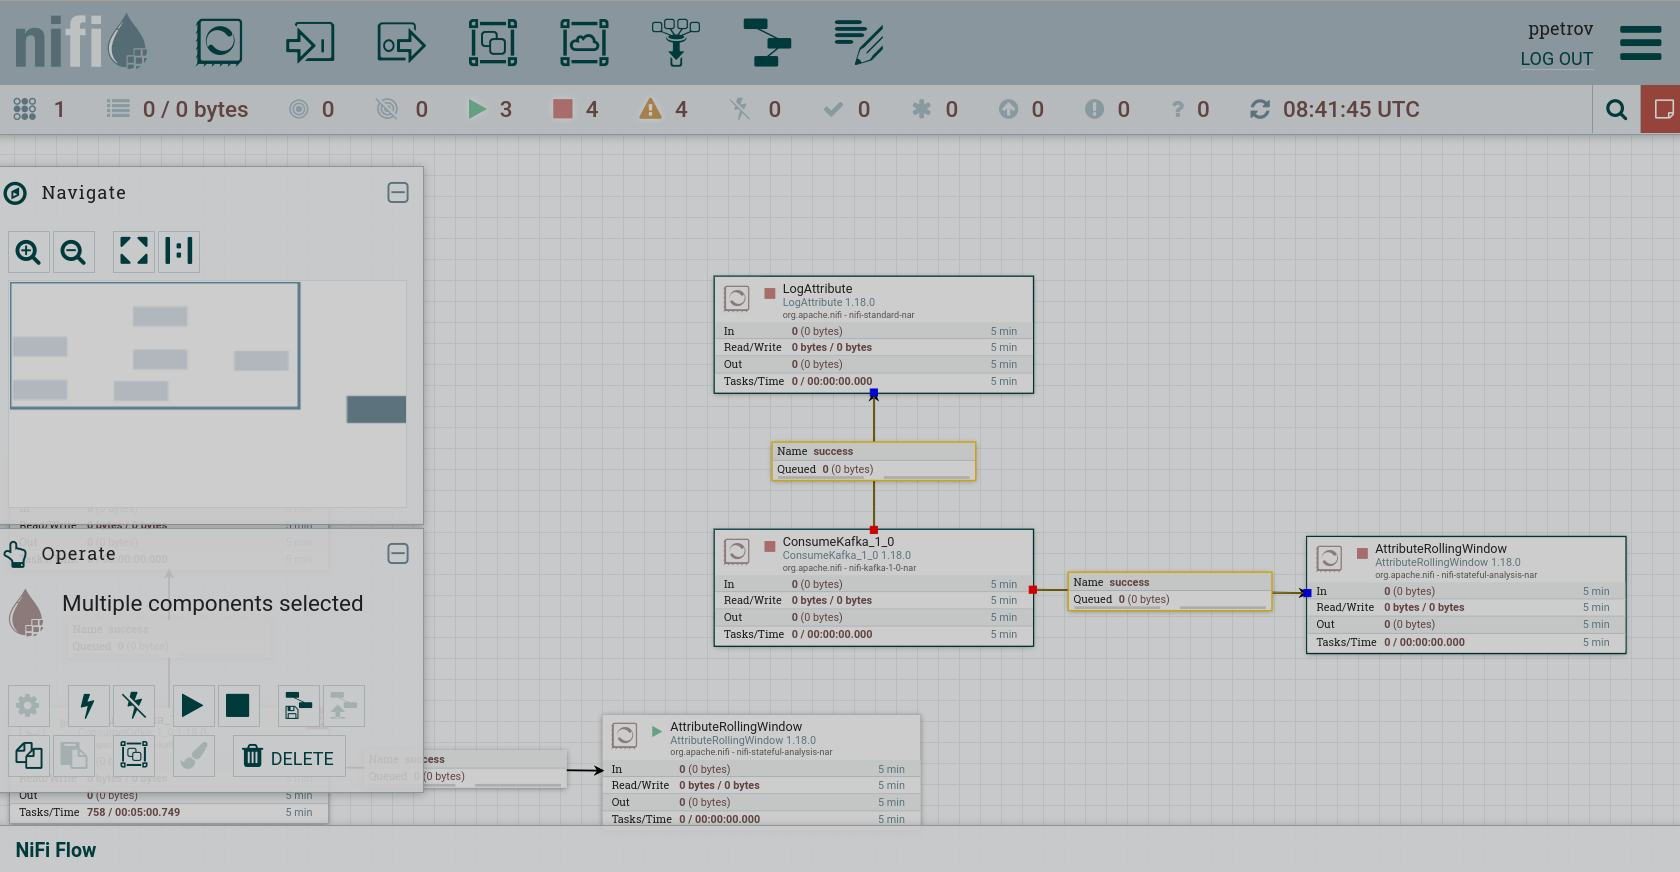
As a result, a group of сomponents is created on the canvas in accordance with the selected template. The top left part of the template is placed in the same area where the template icon was moved from the toolbar. After being created, the group remains selected to be moved to the right place on the canvas or deleted if necessary.
Сomponents created using a template are used in the flow in the same way as сomponents created directly from the toolbar.